Start Streaming on a Budget (Without Selling Your Soul or Your Console)
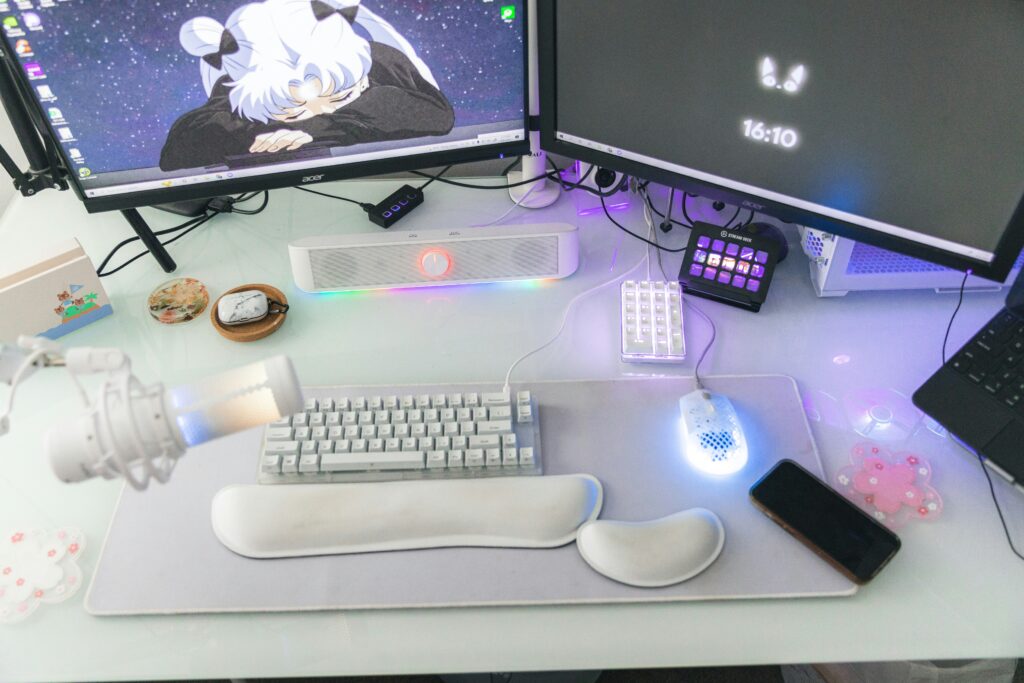
How to start streaming on a budget (without selling your soul or your console) So, you’ve decided to start streaming. Welcome to the chaos! Whether you’re dreaming of becoming the next big gaming legend, cozy variety streamer, or just want to hang out with a few like-minded folks online, getting started doesn’t have to drain your bank account. In fact, with the right gear and mindset, you can start streaming with shockingly little money. Let’s break it down so you can get going today. It can look so overwhelming when you first dive in to the must-haves. We are here to help you figure out how to start streaming on a budget. Must-Have Equipment to Start Streaming (Without Going Broke) You can find Amazon links to products we recommend below in our equipment recommendation section of this post as well as on our shop page. Before you start shopping for RGB everything and a chair that looks like a Transformer, here’s what you actually need to get started: A computer or console – If you already own a PC, Mac, PS5, or Xbox, you’re golden. No need for a beastly setup right away. Internet connection – A wired Ethernet connection is best, but a strong Wi-Fi signal will do if you’re just starting. Microphone – Audio is key. Your viewers can forgive potato video quality, but not garbled audio. Start with the FIFINE K669B or TONOR TC-777—both excellent beginner mics under $50. Webcam (optional but recommended) – Viewers love seeing your reactions. The Logitech C920 is a classic for a reason—great quality for a fair price. Headphones – Even a pair of wired earbuds will help you avoid echo and feedback. Streaming Software – More on this juicy bit next. OBS Studio vs. Streamlabs OBS: What’s the Difference? As far as live streaming software is concerned, you have two major free options in the form of OBS Studio and Streamlabs OBS (SLOBS). OBS Studio is open-source, lightweight, and highly customizable. It’s perfect for tinkerers and folks who love fine-tuning settings. Download OBS Studio here Streamlabs OBS is built on OBS but designed for ease of use. It comes packed with overlays, themes, and integrated chat widgets, which is great if you want to plug-and-play. Download Streamlabs OBS here Pros of OBS Studio: Better performance on low-end PCs More control over stream settings No unnecessary bloat Cons: Steeper learning curve Pros of Streamlabs OBS: Beginner-friendly UI Built-in widgets, alerts, and themes Easier to set up for first-time streamers Cons: Heavier on system resources (Runs up your CPU) Some features locked behind premium plans If you want as much creative control as possible, go with OBS. There are man YouTube videos that will walk you through it. If you just want to hit “Go Live” and worry about the rest later, Streamlabs is your friend. Don’t be afraid to switch it up too. Both programs let your “Export” your scenes so you can upload them between the two programs. Many streamers will start with Streamlabs, since it is so user friendly then eventually switch to OBS. Both programs have a setting that allows you to run the program without actually going live to make sure your PC can handle whatever you are trying to stream. Your CPU usage will show at the bottom of the program, telling you if your PC is being overworked or not. Just make sure you disable the setting before you actually try to go live. Promote Yourself Like a Pro (Even If You Hate Social Media) Streaming without promoting is like whispering in a hurricane—you’re not getting heard. That’s why social media is crucial to building your channel from day one. Top platforms to promote your stream: Twitter/X – Great for networking with other streamers and sharing clips/highlights. TikTok – Short-form content like funny stream moments or game tips can go viral fast. Instagram – Use Stories and Reels to connect with your audience visually. YouTube Shorts – Repurpose your stream clips here for discoverability. Discord – Build a loyal community space where people hang out even when you’re offline. Stay consistent, be real, and don’t fear letting some of your personality show. Upload clips, celebrate every milestone, ask questions, and involve with your crowd! The gods of algorithms are eagerly waiting for consistency and authenticity. And that’s the hardest job—Keeping track of everything. it happens. A cool way to help save time and encourage your viewers to help generate clips from your streams is to give incentives. If you flow into a stream deck, some apps will help you put in timestamps during your stream which would be used later to find the spot to clip it. You Don’t Need the Best Gear to Be a Great Streamer Seriously—don’t let “I don’t have the best setup” stop you from hitting that Go Live button. Viewers come for your content and personality, not your $300 mic. You can absolutely start streaming with entry-level gear and upgrade as you grow. In fact, it can be fun (and motivating) to set stream goals for better equipment—like a “New Webcam Fund” progress bar. Not only does it get your community involved, but it also gives you real feedback on what to upgrade next. If your chat says your mic sounds like you’re in a wind tunnel, prioritize that. If they want face cam reactions, bump a webcam to the top of the list. Final Thoughts: Stream Smart, Not Expensive Starting a streaming channel doesn’t have to cost more than your rent. With a little creativity, some basic gear, and a lot of heart, you can build a channel that grows with you. Remember: your journey is uniquely yours. I cannot tell you how many streamers I met on my journey that gave up so early in their streaming story. You are going to see every streamer grow differently. If someone started streaming at the same time as you and is growing faster, ITS OK! It happens. It takes time for